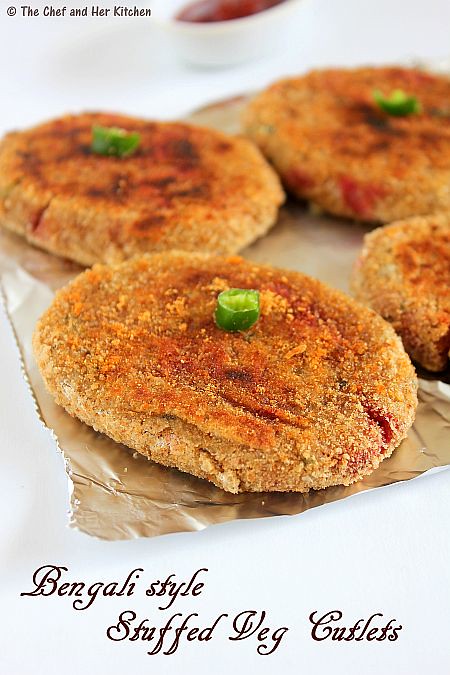
When I saw Deepa's Vegetable Chops recipe,though it is similar to the other cutlets I prepare I liked the addition of peanuts and the stuffing of beetroot-carrot mixture unlike the way I mix the vegetables inside the dough itself.I followed the recipe mostly with very few changes in the recipe.I would say it is a good cutlet for a change with the bite of peanuts in between.I tried the recipe immediately after she posted and this post is sitting in my drafts from almost few months.I am planning to clear all my drafts before the new year and hence this post finds its way finally to my blog.

(makes 10-12 chops)
Source: Deepa's Hamaree Rasoi
Ingredients:
for Stuffing:
1 big Beetroot,grated
2 Carrots,grated
a fistful of Ground nuts,roasted and peeled
2 tbsp grated fresh Coconut
2-3 tbsp Raisins
3-4 Green chillies,finely chopped
1 tsp grated Ginger
1 tsp roasted Cumin powder
1/4 tsp Black pepper powder
Salt to taste
1 tbsp Oil
for Outer layer:
2 large boiled Potatoes
1 whole wheat Bread slice
2 Green chillies,finely chopped
1 tbsp chopped Coriander leaves
1 tbsp chopped Coriander leaves
1 tsp Coriander powder
1 tsp roasted Cumin powder
1/2 tsp Garam masala
Salt to taste
to Coat the Chops:
2 tbsp Corn flour
1/4 cup Water
1/2 cup fresh Bread crumbs
2-3 tbsp Oil,to shallow fry chops
1 tsp Chat masala,to sprinkle over the chops
Method:
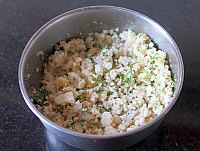
to make filling:
![]()
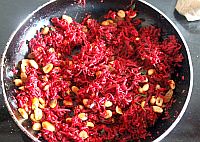
- Peel the skin of beetroot and carrots and grate them and keep aside.
- Heat a tbsp of oil in a pan and add finely chopped green chillies and ginger and fry for a minutes.
- Add grated carrot,beetroot and salt and fry on high flame for 3-4 mins until the water evaporates.
- Add roasted cumin powder,raisins,grated fresh coconut,roasted and skinned peanuts and mix them thoroughly and let the mixture cool down completely.
to make outer layer:
![]()
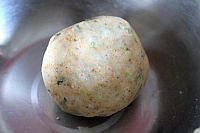
- Pressure cook potatoes for 3 whistles until they are soft.Peel the skin and mash them nicely while they are still warm.
- Dip the bread slice in water and remove it immediately and squeeze out the water thoroughly and add it to the mashed potato.
- Add chopped green chillies and coriander leaves, cumin powder,coriander powder,garam masala and salt and mix well and knead to a dough of chapati consistency.
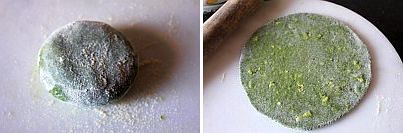
to make chops:
![]()

- Mix water to the corn flour and make a thin slurry out of it.
- Grease your palms and take a big lemon sized ball of potato dough and flatten it a bit and stuff it with 1tbsp of filling mixture and seal it from all the sides and flatten it to a oval or round shaped patty.
- Repeat the process until you make all the patties.
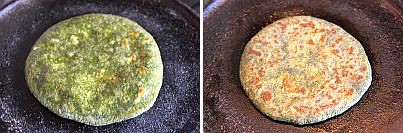
- Dip the patties in a thin corn flour slurry mixture and immediately roll them in a bowl of bread crumbs and turn the patty to coat it with the bread crumbs on all sides evenly.You can refrigerate the patties for half an hour or you can fry them immediately.
- Heat tawa and add a couple of tsps of oil and place the patties and fry them over medium flame until crisp.Pour some oil over the top of the patties and turn them and fry the other until crisp.You can even deep fry them in a wide pan,but I prefer to use less oil and hence I shallow fry on tawa with less oil.
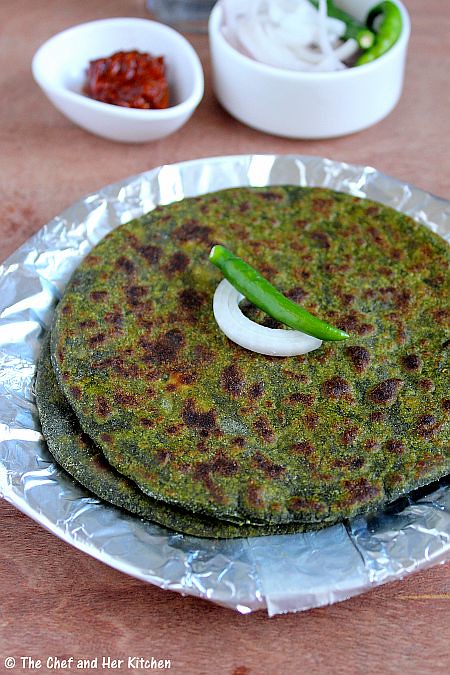
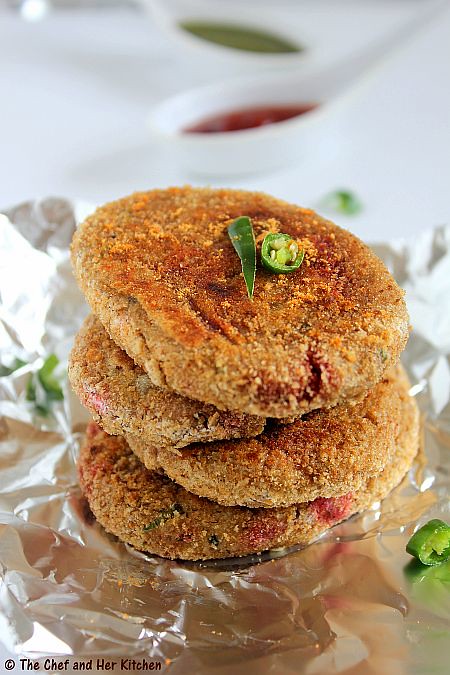
Serve them hot with green chutney and tomato sauce or Kasundi(mustard sauce).Serve them with evening tea/coffee or as a starter with some aerated drinks/mocktails.
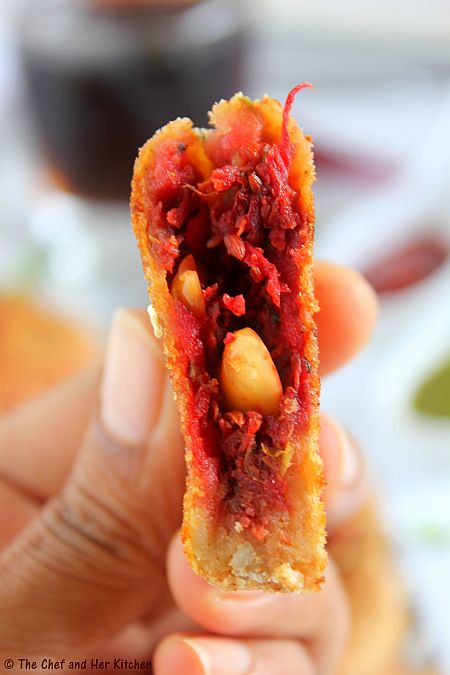
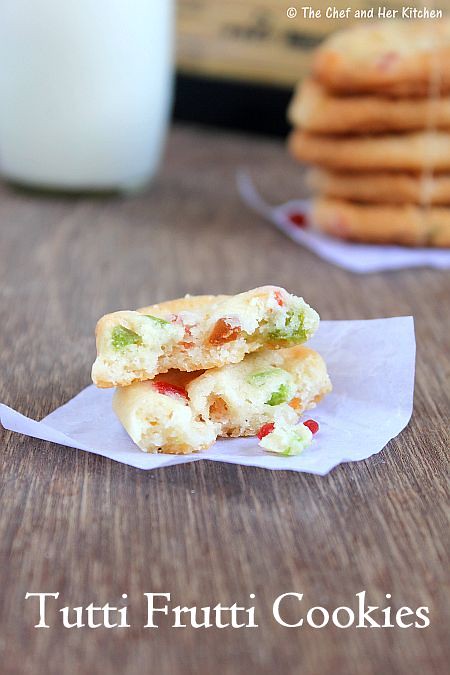
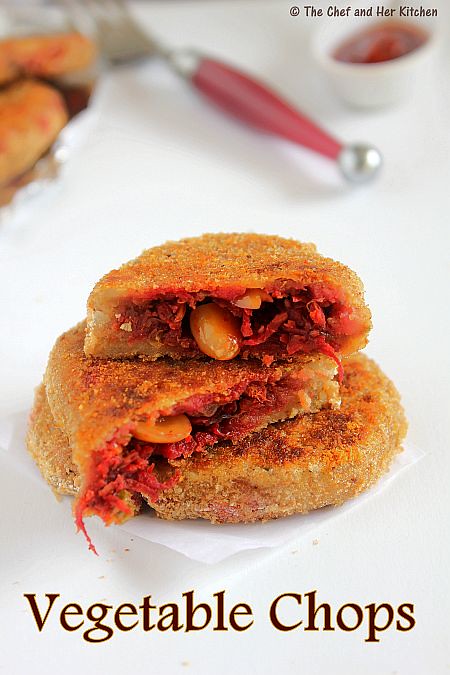
![]() This below picture will give a better view of the stuffing inside the cutlet with few peanuts popping out. I really liked the bite of peanuts in the cutlets.If you keep the cutlets longer the peanuts will become soft,so its better you consume them immediately after you prepare them.
This below picture will give a better view of the stuffing inside the cutlet with few peanuts popping out. I really liked the bite of peanuts in the cutlets.If you keep the cutlets longer the peanuts will become soft,so its better you consume them immediately after you prepare them.